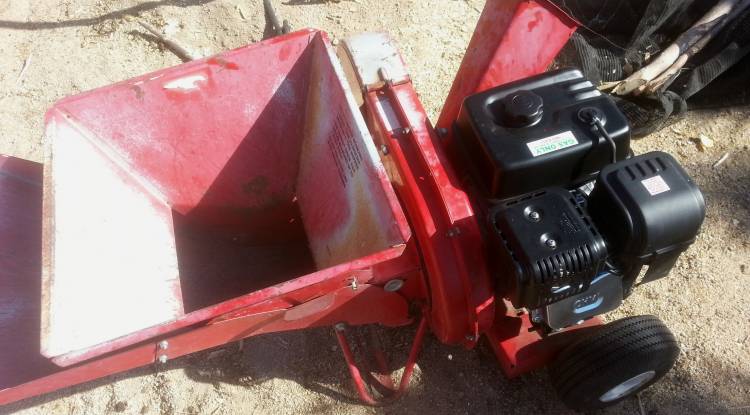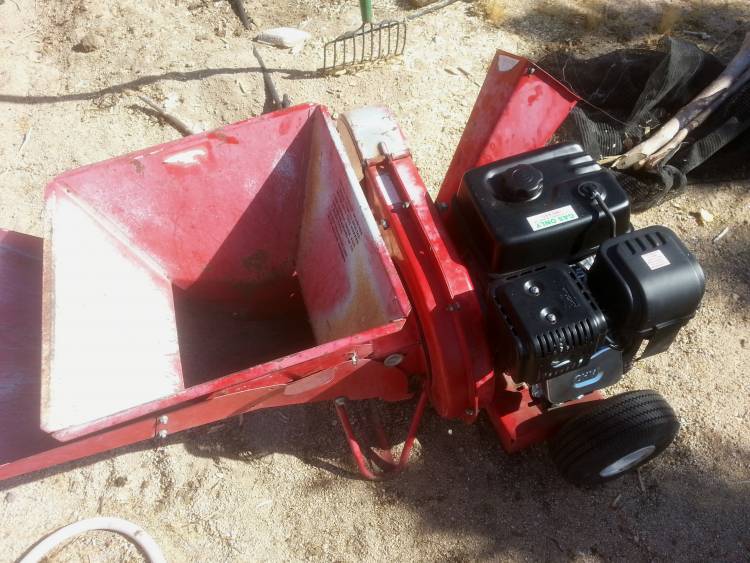
Our old MTD Chipper finally puked its guts out, it was old and tired when I bought it used and did some light chipping each year for the last few years. It was hard to start the whole time and couldnt power through a 1″ thick branch without backing off a couple times to let the flywheel regain speed. You can see the front seal on the original engine had gone and it was leaking oil down into the flywheel housing.
I decided to repower it with a Harbor Freight Predator 301cc 8hp $229 engine. I saw a youtube video of a 6.5hp Predator engine done but that engine has a 3/4″ shaft where the original and the 8hp Predator both have a 1″ and who doesnt want another 1.5hp for their chipper? Also that conversion involved machining a bushing and welding. While I can do both of those I wanted to do this using hand power tools if possible.
In the end all I used was a 4 1/2″ angle grinder with a cutoff wheel and a drill along with wrenches, prybar and a hammer. If I could have found somewhere for a little duct tape it would have all been perfect.
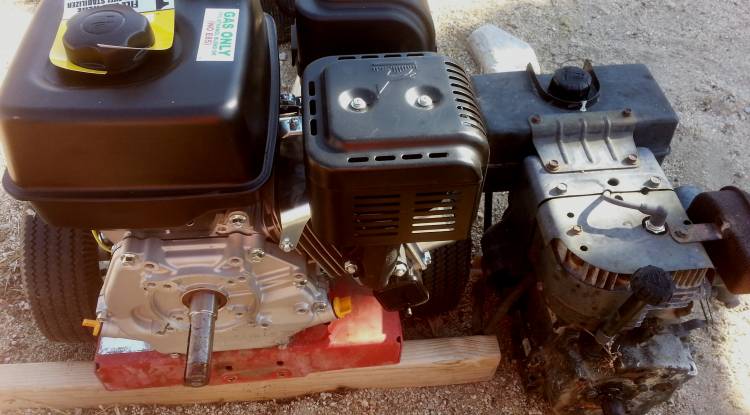
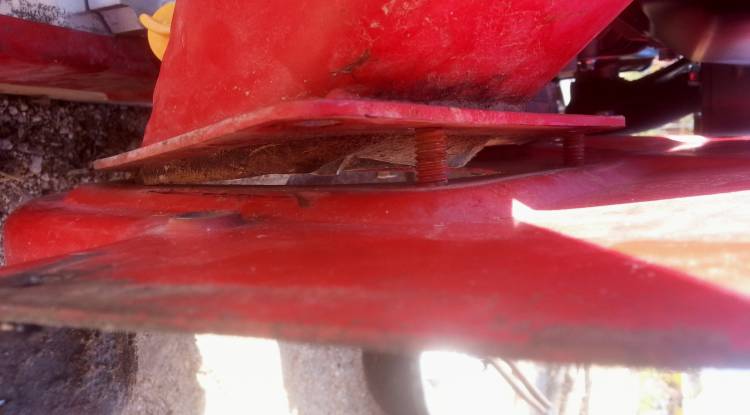
The shaft on the new engine was 5/8″ longer than the original and this worked out perfectly for my plan of adding a spacer between the engine and the flywheel shroud. I went with 1 1/4″ of spacer so overall I lost 5/8″ of shaft into the flywheel, it originally went in 2 5/8″ so 2″ is plenty for the keyed shaft to support that big cutting wheel.
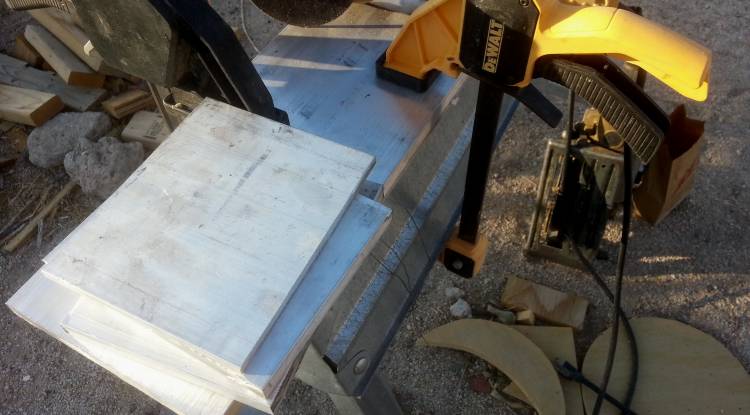
After laying out the hole pattern for bolting to the engine the stack was clamped to a sawhorse and drilled. Of course with the spacer longer bolts would be needed so Sherry picked me up 4 – 5/16 x 24 x 2″ for mounting and 1 – 7/16 x 20 x 2 1/2″ for the flywheel bolt on her way home from work.
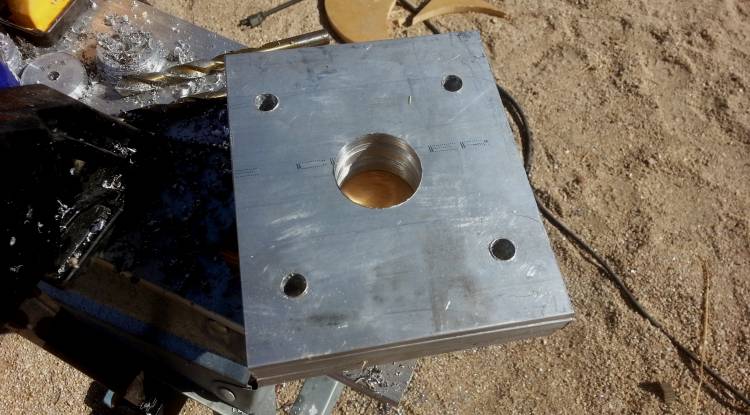
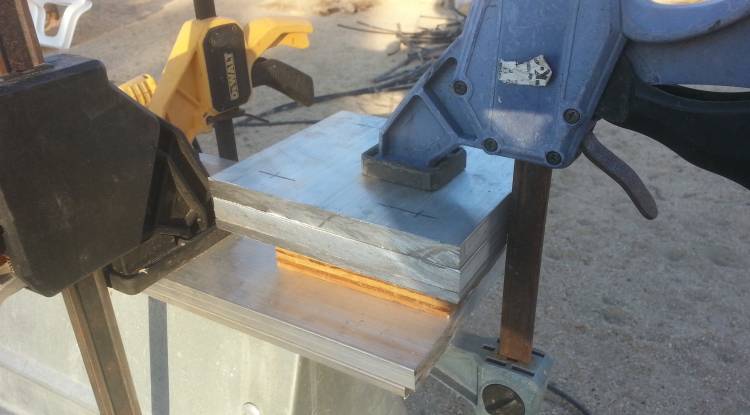
It was a bit funny once I got these holes drilled, lined up great with the flywheel shroud holes so hung them on the back side to slide it onto the engine… ooops, need a big hole for the shaft. Dangit, its always something. Grabbed a 1 1/2″ hole saw and went to work, the 1/4″ was easy enough but the 1/2″ by the time I got half way through it got difficult to keep the groove clear. Easily enough solved by flipping the thicker plates over after getting halfway through. Be sure to drill the pilot hole through all three plates while clamped up though so everything lines up. Also using some bolts or drill bits in the empty holes as a pin helps keeps things lined up.
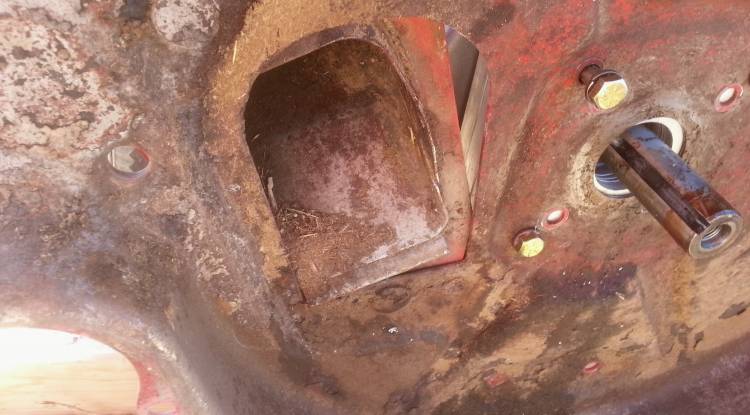
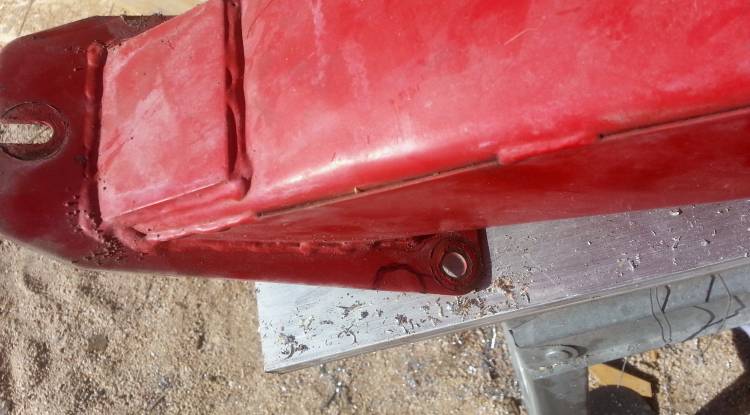
Next step is mounting the engine side of the flywheel shroud, fingers crossed there is enough clearance on that exhaust and muffler. You can see here how it provides a solid mounting for the business end of the chipper.
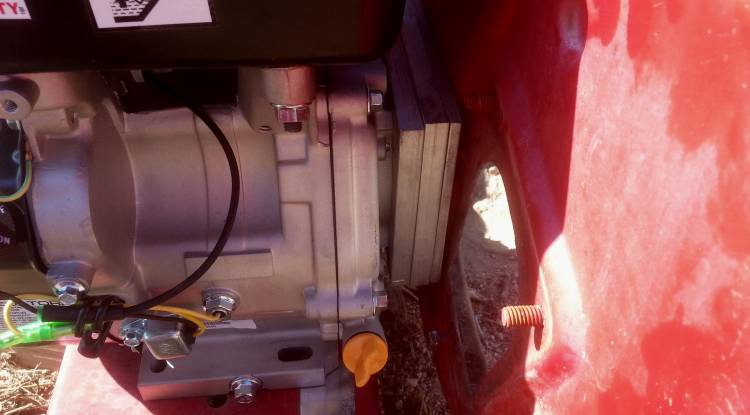

And this picture shows the clearance provided by the spacer between the exhaust and the flywheel shroud, plenty of room so that a little vibration wont have stuff wearing on each other.
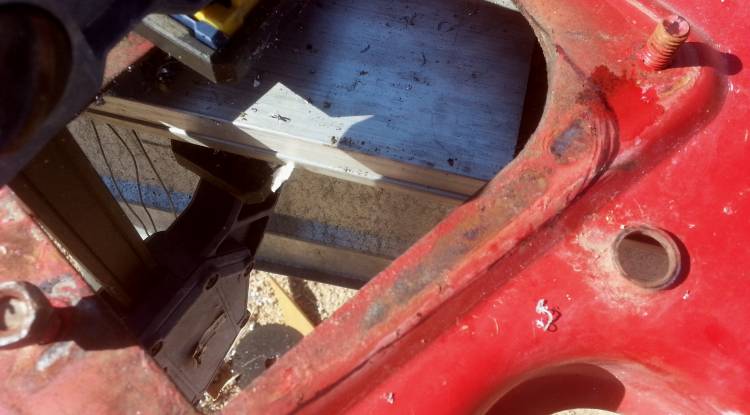
Next up is trimming out the inlet on the shroud for the feed chute, it needs to tilt out about 15 degrees to clear the engine case and gas tank. You can sort of make out the sharpie mark on the shroud where it needs to be cut. I Just freehanded in the rest once the shroud was off the engine for this part.
Since the feed chute just has one bolt on the bottom it was real easy to tilt it out, that bolt holding it out will have to be cut off too. Bottom bolt is used as is but the top two will have to be drilled into the shroud.
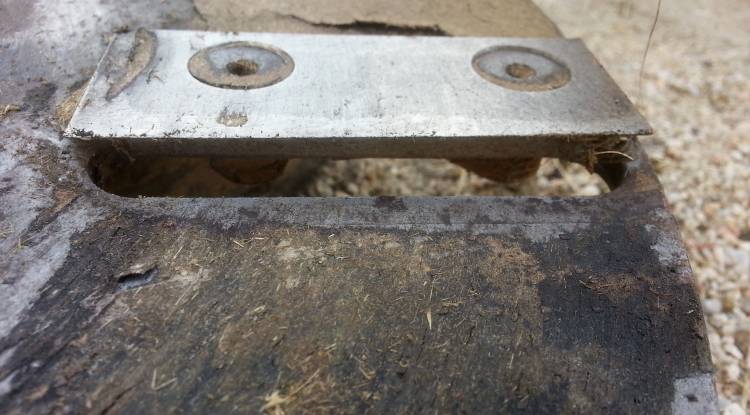
A view from the inside. I suppose I could have used some duct tape to plug that little gap there, it didnt seem like enough to worry about and will likely plug itself with detritus over time. In use I didnt notice any issue from anything coming out the gap.
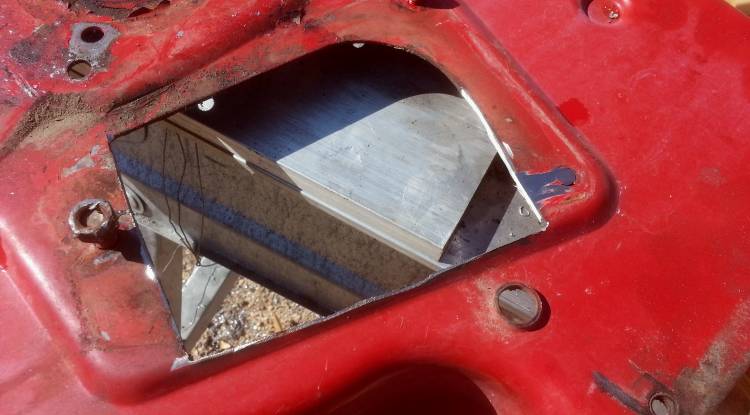
Next up the feed chute needs a little notch to clear the big bolt that holds the flail screen inside the flywheel shroud.

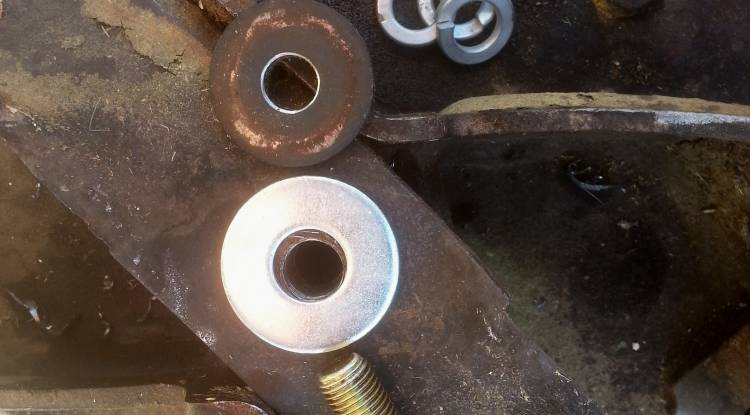
And thats it on the modifying other than dropping 5 lock washers into the flywheel before putting it back on. These were 1/8″ thick and I needed to come out 5/8″ so it made a good spacer. The washer thats on the machine to hold the tiny lawnmower looking chopping blade for the leaf side was hardened steel, I realized that quick and decided not to bother with enlarging the hole for the 7/16″ bolt. I just used a large washer and bolted it together.
And thats it, no machining, no welding and now powered by a new 8hp engine, it runs great and plows through a 2″ branch the old engine would not touch. This at just over $200 or $550 to buy a similarly powered new chipper so I am pretty happy with it. I still want a larger machine, either electric start 12hp or higher or 3pt mount pto would even be better because as I get older I really like pull starting less and less.